Affichage des articles dont le libellé est AT HOME series. Afficher tous les articles

dimanche, septembre 12, 2010

Kitchen remodel - The follow up

Heavens me!
I completely left you hanging by a thread to see the finished kitchen.

Well, without further ado...


The feedback I've had is amazing. Some actually thought we expanded the size of the kitchen by building out, others thought we added the back door. By far, the most heard comment was, "it's so spacious and organized". This was music to my ears.

I can report that the ergonomie turned out to be better than expected. Everything is at a hands-reach for what we use on a daily basis. Even the little one can get what she needs to make her own breakfast in the morning. The textured granite countertops are amazing. Easy to clean and no cuts, burns or dings on the surfaces. I highly recommend this type of countertop.

The inconvenience for me is my 5'2" stature. I still need to use a step-stool to reach the rice cooker and other rarely used items stocked on the upper shelves. But at least I have a space for them in the kitchen, rather than having to store them in the basement.


A project well done! Next on the docket, the attic! Stayed tuned, José and his guys start Nov 15.

jeudi, mai 27, 2010

Kitchen remondel - Part 2

The Creation

My vision for our new kitchen falls somewhere between retro and classic. I wanted the kitchen to blend with the style of the house. No easy task considering the style of kitchens at the moment is modern with lacquered cupboards and synthetic counter tops.

The layout was tricky because of the surface of the room (only 9m2, or 97 sq. feet), and the existing elements like the 2 doors and our desire to have a small eat-in area. A tough order, but not impossible. We settled on an "L" shape and agreed the kitchen sink would need to be moved to the other side of the kitchen from where it was before. We also decided to install a suspended ceiling to allow for a center mounted ceiling light and eliminate the problem of the exhaust fan cover not being tall enough to reach the ceiling. The floor tiles were chosen to compliment the original 1900's cement tiles found in the hallway (adjoining the kitchen).

Once demolished our contractor sent in his band of merry men to work their magic. They hooked up the new plumbing and poured a new concrete floor which would be later tiled in cement tiles. They also installed supports for the suspended ceiling. The drywall and electricity followed as well as several coats of plaster.


From there, the kitchen started to take form. After the cement floor dried, José was ready to lay the new tile floor. I lent a hand in the project, since laying a tiled floor of this nature is time consuming. Two days later the joints were filled and the cupboards for the kitchen were delivered. We were finally ready for the installation of our new kitchen.

The installation started on a Monday and was measured out to the millimeter by the installer. Everything went according to planned and by the end of the day Tuesday, I was ready to start filling drawers and shelves. Wednesday the measurements were taken for the granite counter tops (which we will receive in a week or so).


Until the counter tops arrive, we still have no kitchen sink, but we do have provisional counter tops so at least the kitchen is functional and we can cook in it. Here is what is looks like with everything in place, except the kitchen sink!


A special thanks to Mr. Rancati at Cuisinella for his input and expertise on the layout (and for the special part for the sink). Mr. Gomez and his crew for creating a functional and beautiful space down to the last detail.

dimanche, mai 16, 2010

Kitchen remodel - Part 1

The Demolition

We knew when we bought our home that the kitchen would have to go. It took me a while to get my hubby on board with my "vision" and motivate him enough to start a project we both knew would take several weeks to finish. As anyone who has remodeled their kitchen knows, microwaved meals and ham sandwiches gets old fast...

Here is what the room looked like before it's destruction:


Granted this room had its charm: checkered tile floor, built-in pantry and a farm-style back door with a window I could open to holler "come and get it" to the young'ins. However there were many drawbacks. The lack of storage and counter top space, a very small corner sink, eat-in room for only 2, a floor that sunk in the middle and the curiosity that the appliances and counter top was set up on a brick step. Not convenient for this woman of 5'2".

The list of improvements we had went far beyond aesthetics and ergonomics, there were structural problems to deal with, i.e. leveling the floor and installing a false ceiling. But first we needed to rip everything out, here's a look at what that entailed:


It took one fine Sunday and 2 dedicated guys to rip everything out, including the floor and brick step. Not bad for a days work guys!

The following day the professionals came to break up the old cement floor, install vertical beams in the basement to keep the floor from sinking and finally pouring the new concrete floor.

In part 2 I will reveal the creation of our new kitchen step by step. Stay tuned...

mardi, avril 06, 2010

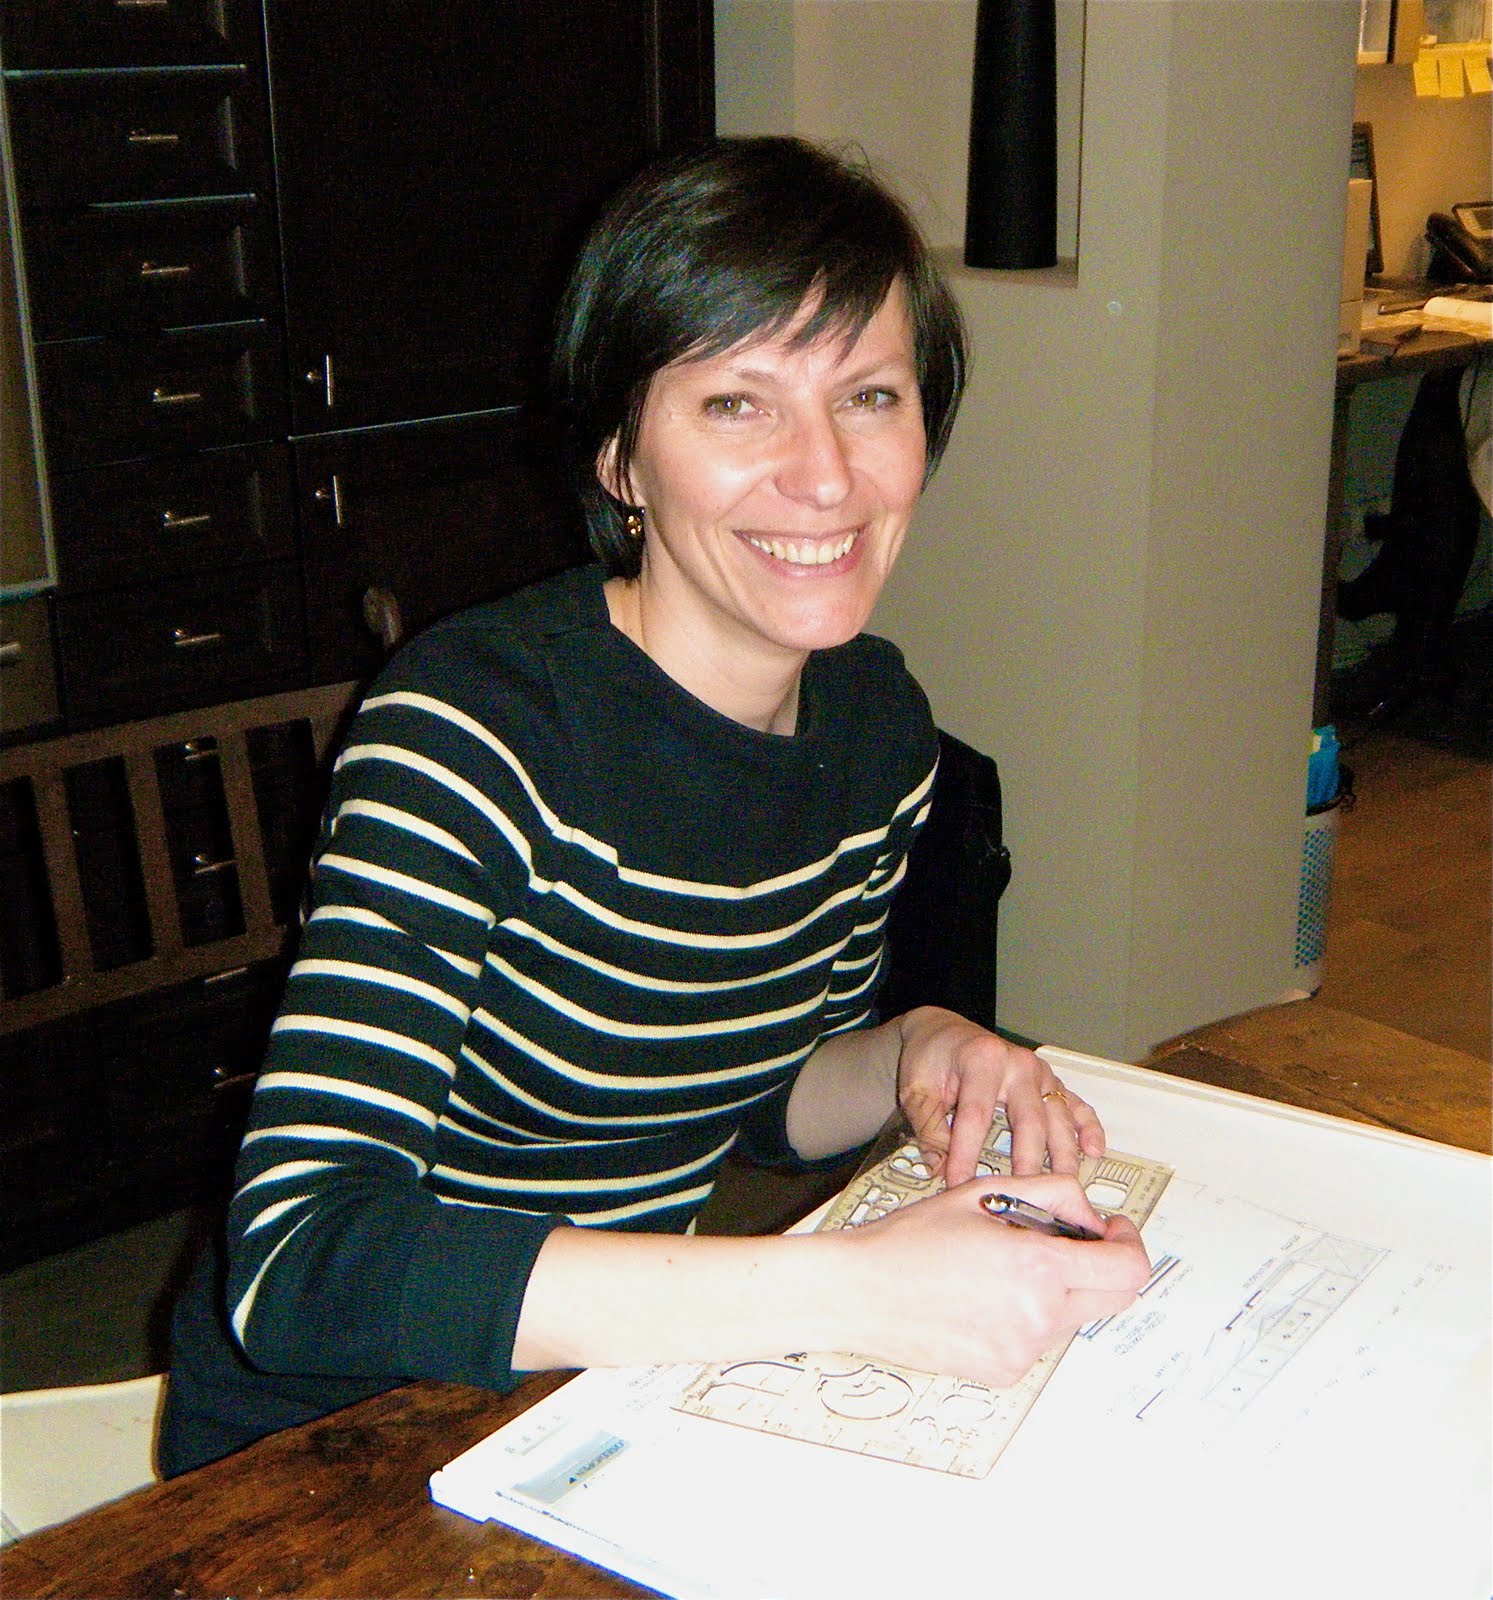
Portrait of a kitchen designer

Meet Sophie, a talented and creative kitchen designer for a German brand of high quality (and high end) kitchens. I interviewed Sophie to find out more about her passion for her job and get some insider information on what's hot in kitchens these days.

AT HOME: How long have you been designing kitchens Sophie?

Sophie: For 22 years. I've stayed with the same company because their standard of service reflects my own. We prides ourselves on high quality (almost luxury) kitchens. From cupboard to counter top the kitchens we design, create and install are a reflection of craftsmanship and customisation.

AT HOME: What training do you have for this job?

Sophie: I started off by completing a degree in interior decoration, however, I have always had a passion for drawing. When I accepted this job I immediately saw the opportunity to marry my training with my passion and even after 22 years, I still love what I do.

AT HOME: I notice that all your plans are hand drawn. Why don't you use one of those sophisticated computer design programs that are available to create your plans?

Sophie: It is our company's policy to always provide a hand drawn plan. It's our mark of quality and customer commitment. To be honest, I prefer hand drawing. There is a certain thought process involved when creating a plan with pencil and paper.

AT HOME: What do you love about your job?

Sophie: The creativity, not only esthetically but also technically. Each project I work on is different. Each customer has a unique set of needs and desires for their new kitchen and I work hard to give them exactly what they want, down to the smallest detail. That's not as easy as it sounds, especially when the space is particularly small or has difficult angles to work around. However, I love the variety and challenge that each new project brings.

AT HOME: Within your years of experience I imagine you have created some pretty amazing kitchens, what are the most memorable projects you have worked on?

Sophie: A few years back we did the kitchen of Karl Lagerfeld. That was a treat and he was very nice to work with.
I am always impressed with the clients that choose industrial cooking appliances for their new kitchen. Most of these customers invest huge sums of money in a kitchen they will never step foot in, much less cook a meal for themselves. I recently worked on a project that included 2 kitchens. One central kitchen outfitted with industrial equipment for the domestic staff and another small kitchen equipped with just the basics for the home owners. It always amazes me when I work on a project where cost is not an issue. I've designed kitchens that cost up to 120,000 euros. For me, and most people putting that kind of money into a new kitchen is not an option.

AT HOME: So Sophie, tell us, what are the up and coming trends in kitchens these days?

Sophie: White kitchens are back in. Lacquered door fronts and thin quartz counter tops (made up of resin and powdered granite) are becoming more popular. The modern looking kitchen is sticking around. Integrated handles and new materials - such as glass are replacing those standard wooden cupboard doors with traditional knobs.

AT HOME: Thank you Sophie for taking the time to answer our questions and happy designing to you.

If you would like more information on creating a new kitchen or simply organizing better within your existing kitchen. Drop us a message at: angela@relookinteriors.com.

mercredi, février 17, 2010

AT HOME...with Louise

Welcome to Louise's beautiful "villa" that dates back to 1896. Louise is no stranger to home improvement projects. Whatever needs to be done, she isn't afraid to take it on. From painting and sewing to stain glass window repairs and heavy sanding, her projects are well thought out and reflect her charm and sophistication.

We sat down for a coffee with Louise one morning to find out more about what inspires her and hear about her latest relooking success story.

AT HOME: Where do you get your inspiration for all your decorating ideas?

Louise: Magazines like Art et Decoration and Elle Deco. I also look at my friend's homes and sometimes steal their ideas or come up with a variation that suits how I want my room to look. I'm very methodical, I take on one room at a time and see it to completion before starting to think about my next project. I take my time to develop the future style of the room. I shop around and compare prices (and bargain when I can). I set a budget for the project and when possible I reuse what I already have by repainting it or transforming it to fit into the new decor. I don't like throwing useful furniture away and usually I can find a spot for it somewhere else in my home.

AT HOME: What aspects do you love about your interior?

Louise: For starters, the architecture of my home. When we toured this house over 13 years ago there were so many charming elements that made me fall in love with it. I love how much natural light it has and the sense of volume due to the high ceilings. The touches of stain glass on the windows, wood floors, and the stone fireplace were the icing on the cake. I have tried to maintain this feeling of light and volume by using a neutral color scheme throughout the house. To me, this creates an overall harmony rather than separating spaces by using different colors.

AT HOME: What was your last relooking project?

Louise: The master bedroom. I wanted to create a cohesive bedroom with good color and style flow. Matching furniture was important for both. In addition everything had to fit into place without making the room feel crowded. We set a budget for the project, 1200€, which I felt was reasonable for all we achieved. It included not only the cost of renting a heavy duty sander and all the materials we used (paint and varnish) but also all the furniture (headboard, console, mirror, dresser and bench) in addition to the lighting and accessories. When I look around and see how much we accomplished with the allotted budget, I'm pretty satisfied!

AT HOME: What challenges did you encounter while relooking this room?

Louise: It was an involved project. We had to rip up the carpet and sand down the existing hardwood floors. 2 coats of varnish later, I was ready to start the painting and decorating. The challenge was finding furniture small enough to fit in the available spaces. This room has 2 large windows on one wall, a radiator taking up space on another and a wall of closets on yet another. Once you put the bed in place, the options for other furniture are limited. I managed to fit some elements into this room that I didn't think possible at the beginning, like the bench at the foot of the bed. I love the choice of colors and the style of the furniture. This is exactly how I envisioned the room to be. I set out to create a light and comfortable bedroom with charm, like in an elegant English bed and breakfast and I think I achieved just that.

AT HOME: What future projects do you have for your home?

Louise: Our next project is the master ensuite bathroom. Yet another challenge space. Storage is an absolute as well as good lighting and a decent size shower. But, I'm not worried, I already have some ideas up my sleeve.

AT HOME: I bet you do! Judging from the rest of the projects you have taken on in your home, I am sure this one will be yet another success for you. Good luck with it and thank you for having us over today.

mardi, novembre 24, 2009

AT HOME with...Patricia

The moment you walk into Patricia's house you are overcome with a feeling of not only a beautiful home, but one that is stylish and functional. We sat down with this busy mom of two kids to find out how she keeps all the balls up in the air and has time for interior projects as well.

AT HOME: What was your last decorating project in your home?

Patricia: The living room. We replaced the wall shelving with book cases and repainted the entire room a light buff color. The color was chosen to go with the wall hanging we would be putting up. We wanted this special piece of art work by a German artist to be the focal point of the room.

AT HOME: What challenges did you encounter while decorating your living room?

Patricia: It took a great deal of work to get the whole room looking like how we wanted it to. The configuration of the furniture, comfortable seating, and finding the right bookshelves. We wanted to keep an open space in room to move around in, and of course finding an ideal location for our special art work so it could be enjoyed from every angle. Our budget was tight but we made good use of elements that we had and love, like the coffee table that use to belong to my parents.

AT HOME: Where do you get your inspiration to decorate?

Patricia: From the house itself, it dates back to the late 19th century and we like to use that as our base.

AT HOME: What aspects do you love about your interior?

Patricia: The basic architecure of the house: the high ceilings, floor to ceiling windows with arched tops, the original cement tile floors. I also like to play with textures in my interior mix and matching thick rugs with smooth curtains, offsetting the solid fabric on furniture with patterned throw pillows.

AT HOME: What future projects do you have for your home?

Patricia: Transforming the garage into a master bedroom. It's a big project and there are many factors that are complicated and expensive like moving the fuel tank, plumbing and electricity, and getting permission to do this type of remodeling from the city. But it is exciting to think about how the space "could" look and that's half the fun of the project!

AT HOME: Thank you Patricia for having us "at home" with you and sharing your insights about your interior. Good luck on your future projects!


In this series, we have the pleasure of being invited into the homes of creative and stylish people whose interiors are not only beautiful, but also cozy and livable. Each of our participants shares our values of using their existing resources to relook, reinvent and reorganize their space.